Crafting

DIY Craft Storage

I have a bone to pick with the HGTV-esque era of home decor. It seems to have hit levels that are simply unattainable and realistically unsustainable for the regular person.


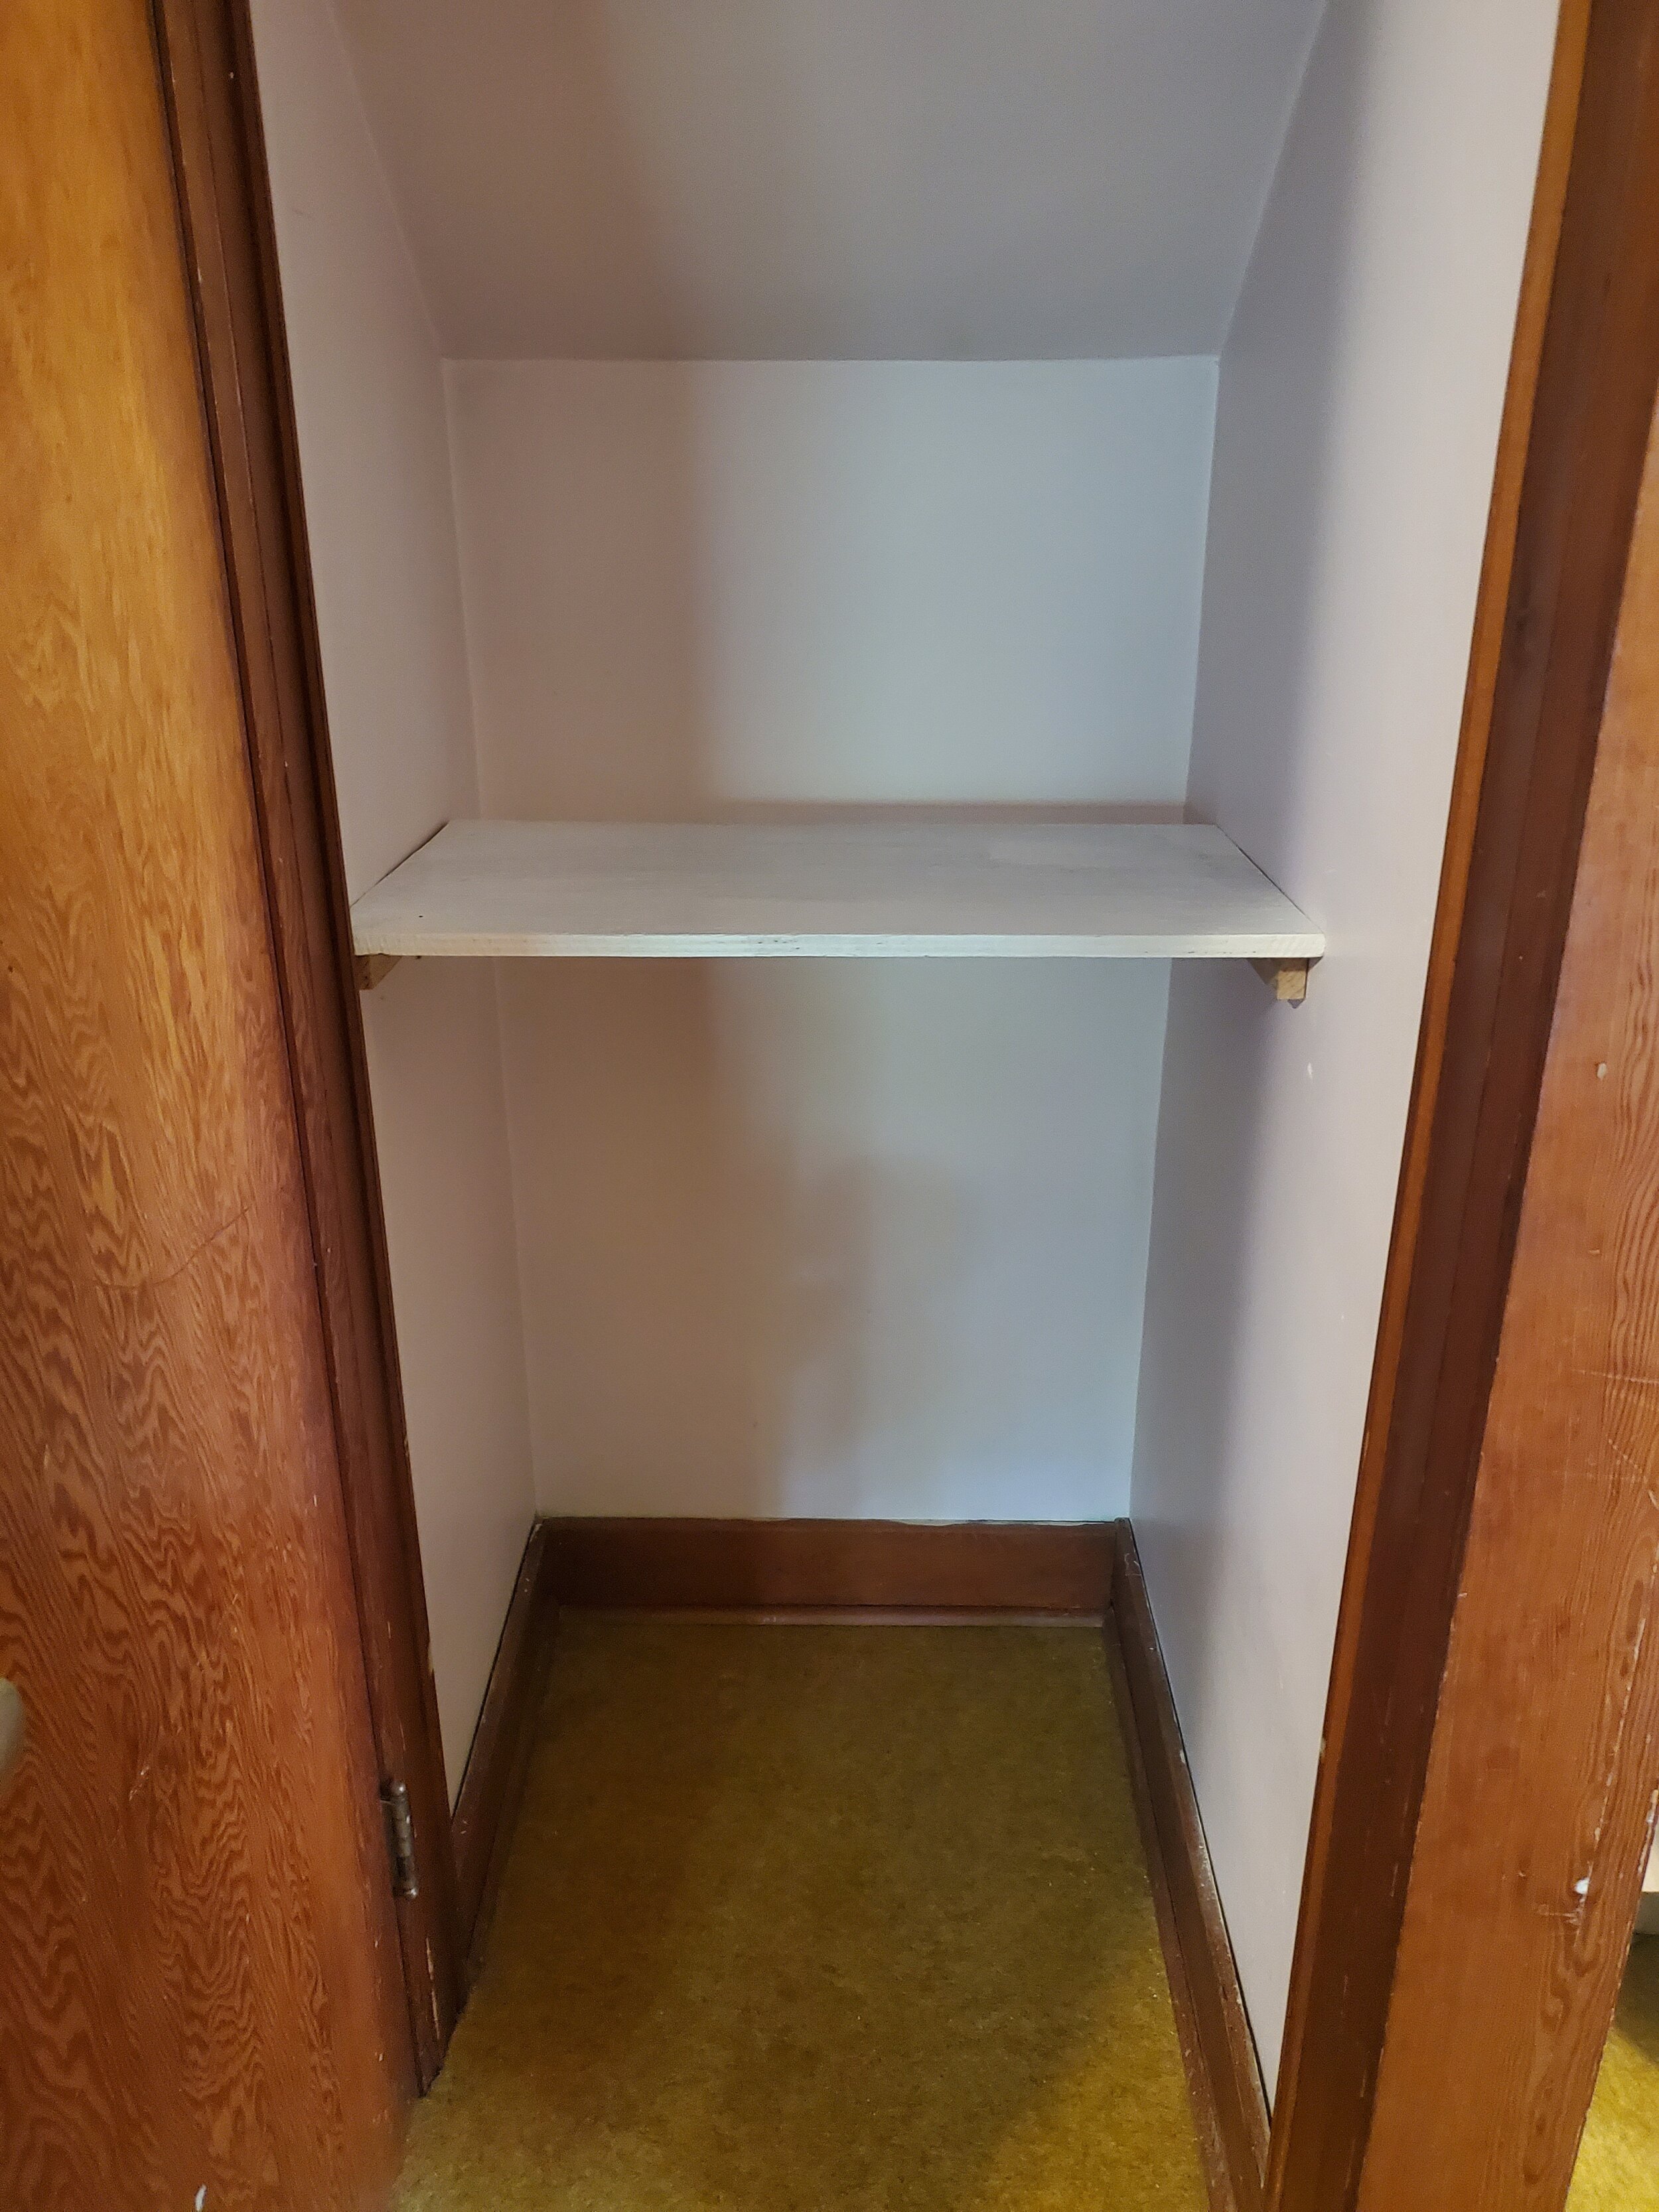
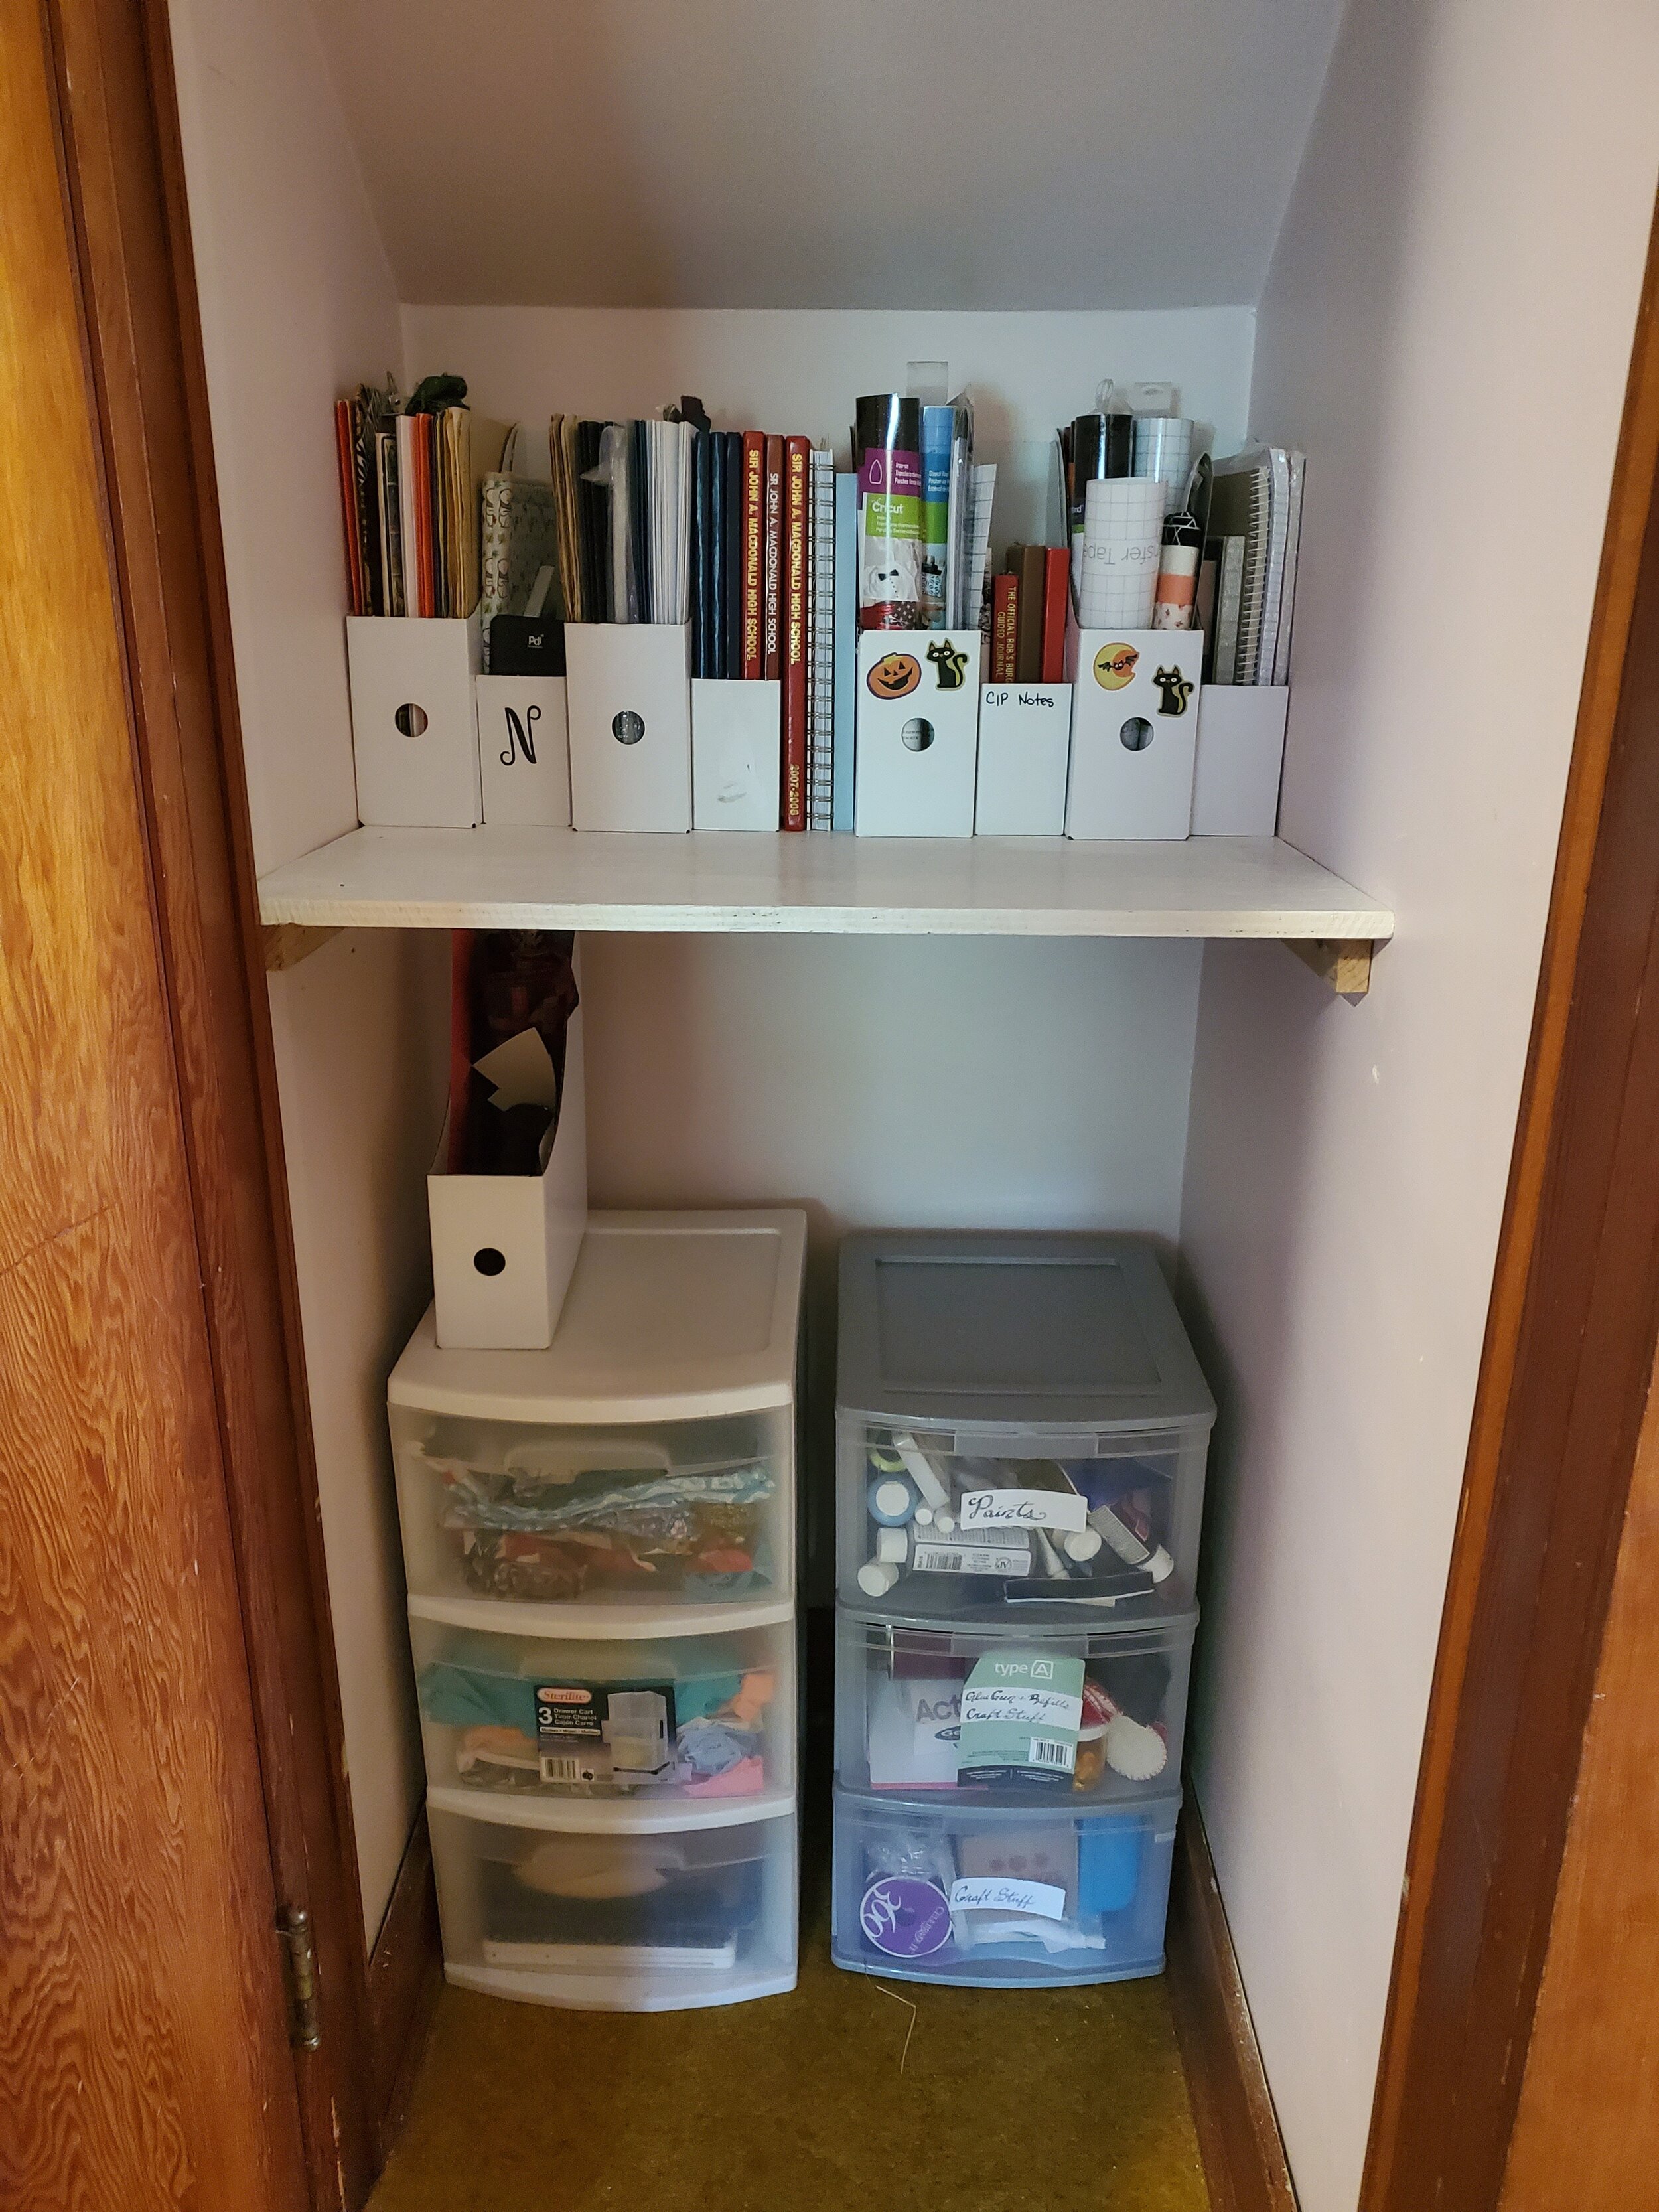
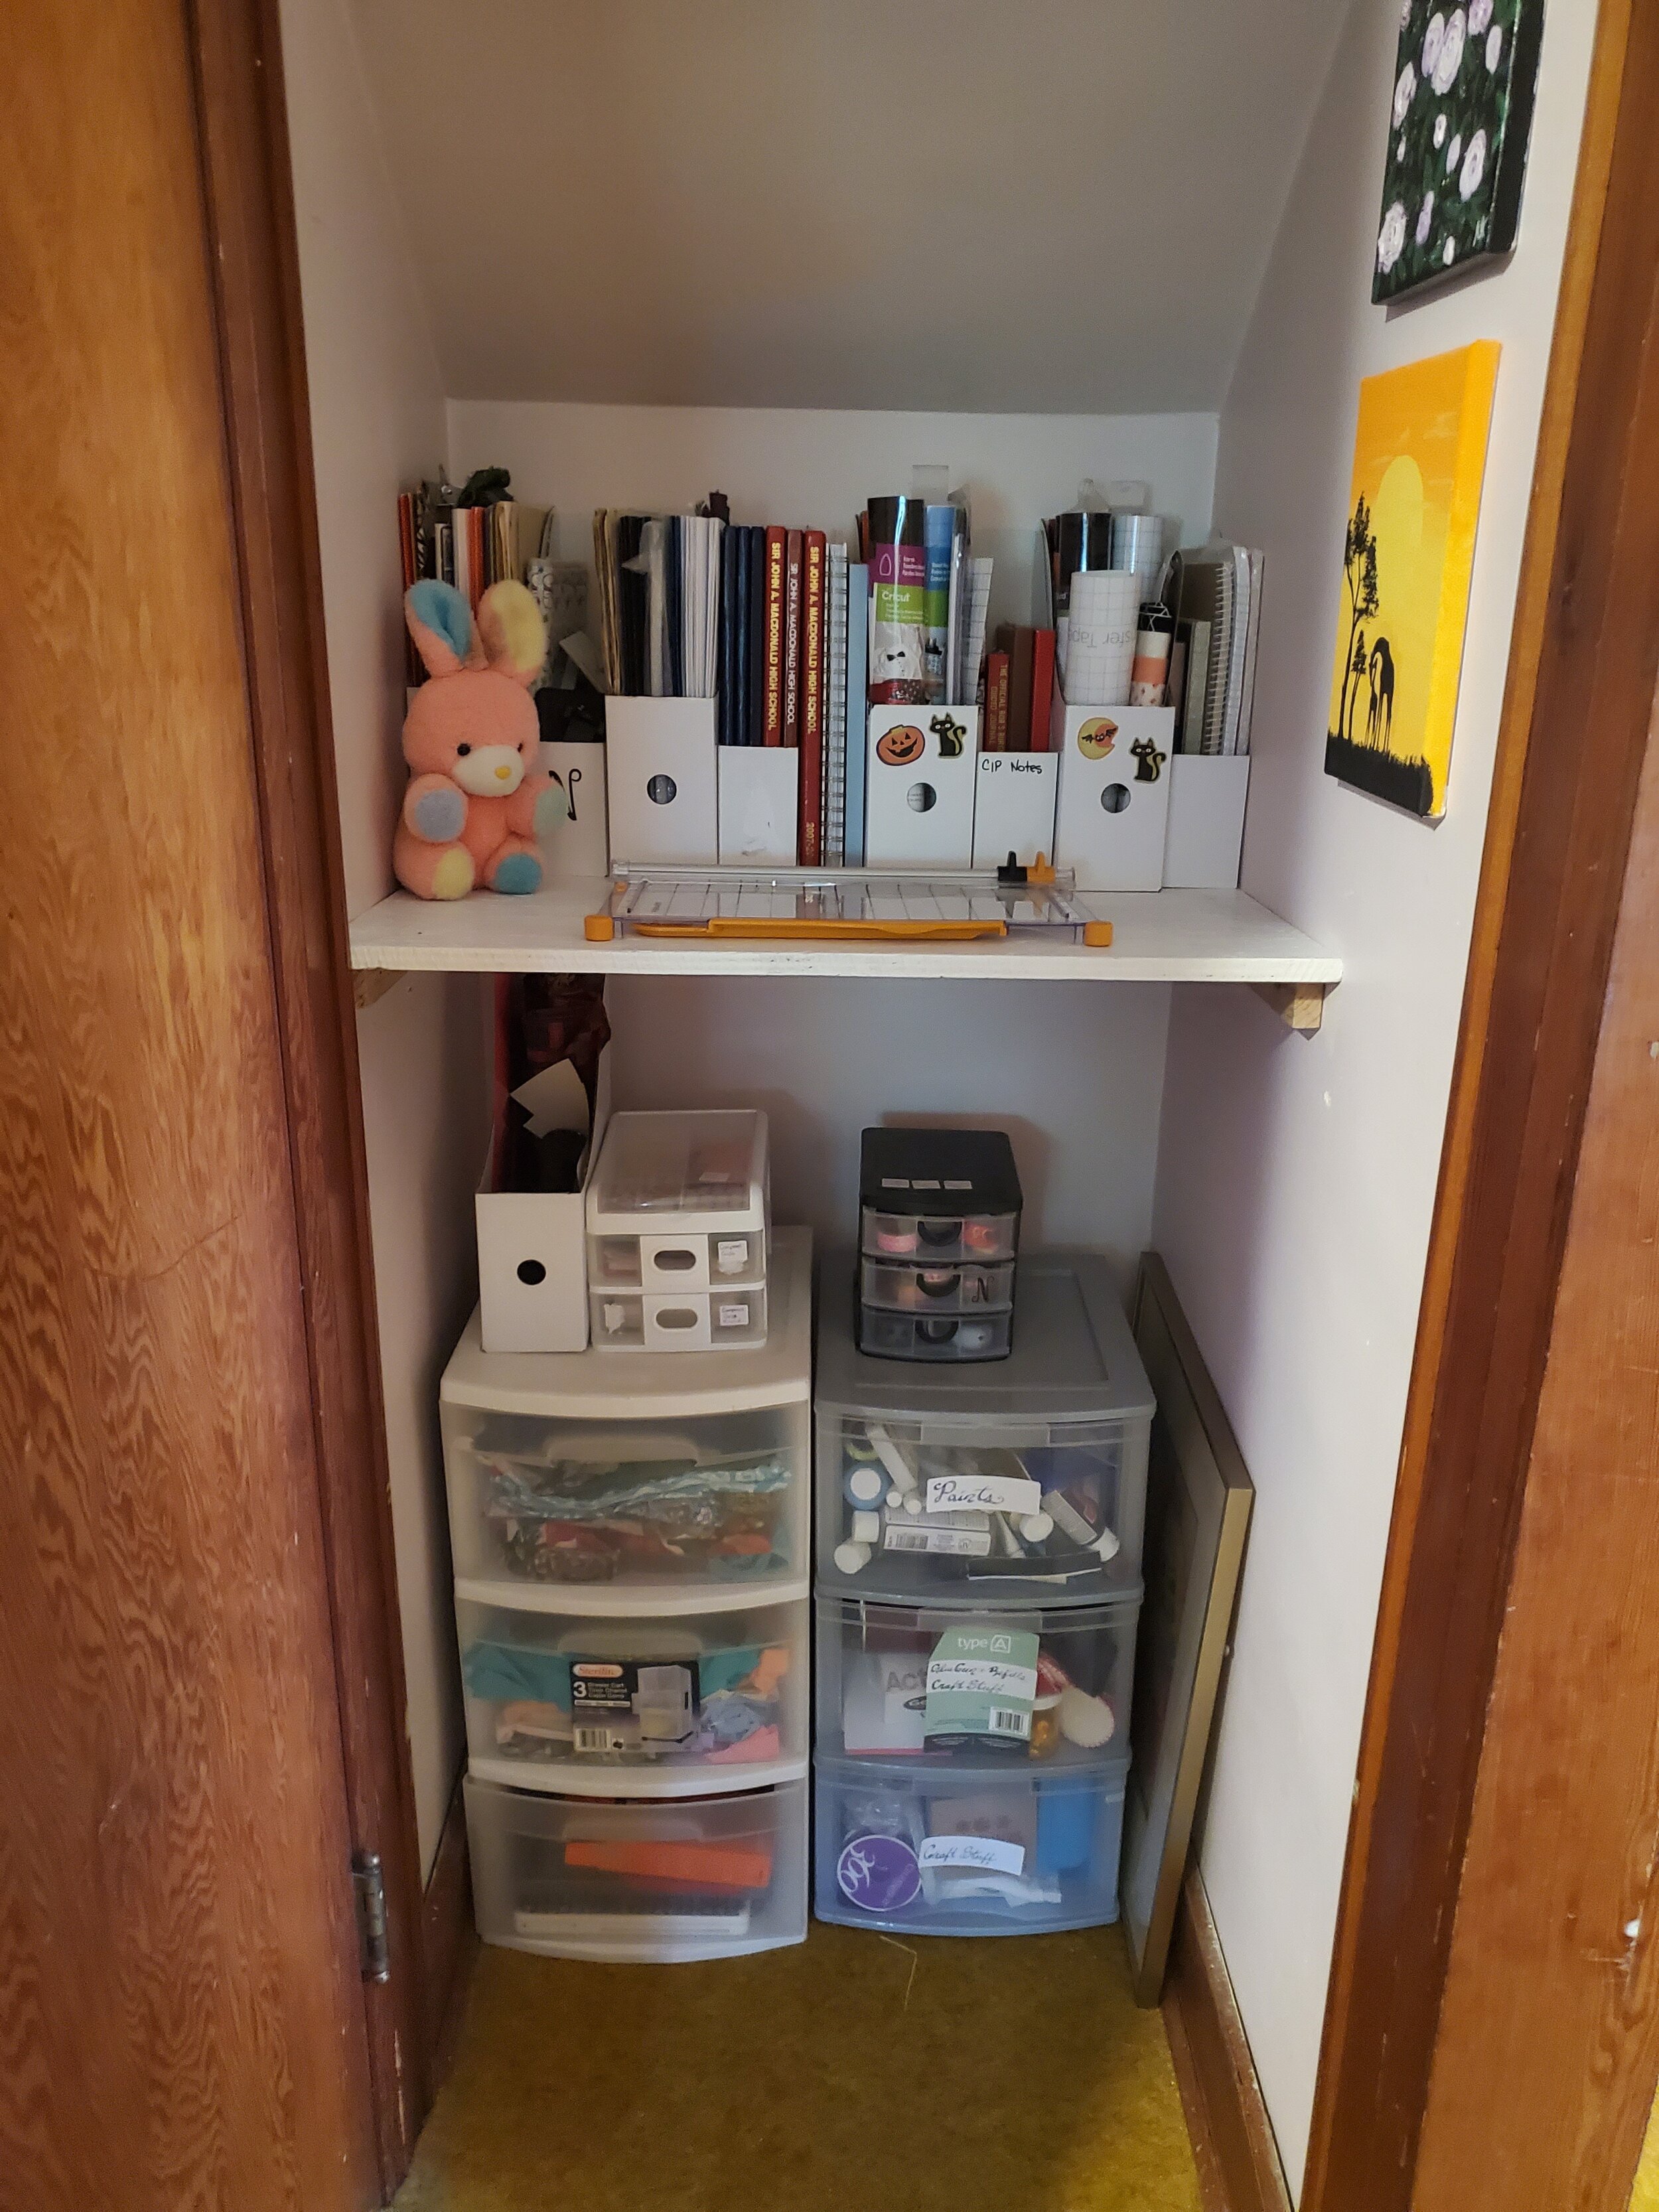
I am a huge fan of trifting and affordable options so although my new craft shelves aren't overly fancy I absolutely love them.
I installed the wood shelf just using some cut scrap wood from my home renovations and the dividers are from Ikea for $1.50 for 4.The plastic drawers are thrifted thus the reason they don't match, sorry to anyone with a tad of OCD!
This was the first project I've done in the house in awhile and it felt incredible liberating! It was also great to get the stuff sorted better and out of my home office.

www.creatingwithnicole.com (2).jpg

I’m also excited to showcase and normalize “normal” home decor. Eventually I will be painting the doors white but for the most part this is it! It’s done!

DIY Pot Holders

DIY Pot Holders.jpg

I've always grown up with hand made pot holders, I didn't know they could be bought at a store to be honest... So when mine started seeing better days I immediately started looking at the DIY approach.

DIY pot holders

Headed for my local fabric store (Atlantic Fabrics in Nova Scotia) and got some of that lovely filling that stops the hot goodies from burning my hands.

DIY Pot holders

One meter goes a long way- I doubled it up and I still managed to get 16 pot holders out of it. For the outside I had a lovely collection of fabrics. Best to use a cotton blend. Lastly I finished up the edged with some black bias tape to give it a sleek finish.

DIY potholder dimensions

The dimensions that I found worked best was 8”x8”

20190718_205206.jpg

Step 1: Cut out your insulation into 8x8 inch squares, double up the squares.

Step 2: Cut out your desired fabric into 8x8 inch squares.

Step 3: Take some time to carefully pin the insulation and fabric together.

Step 4: Sew the center together, I chose a simple “X“ through the square.

Step 5: Finish the ends off with black bias tape.

Step 6: Go take something hot out of the oven, you’re done!

DIY pot holders